
During the past few days, I've been diving into Google Cloud SQL. But, what is Cloud SQL?. Well, in summary is a fully-managed MySQL database service provided by Google and hosted in their own infrastructure. Therefore, you don't need to worry about things such as storage, security, or availability. In addition, Google provides a very flexible administration console that allow users to create and monitor their database instances.
One thing I was curious about was the possibility to connect an external application to Cloud SQL. In this article, I share two possible ways to connect a client machine to Cloud SQL.
One thing I was curious about was the possibility to connect an external application to Cloud SQL. In this article, I share two possible ways to connect a client machine to Cloud SQL.
Initial Setup


Before we start:
- You need to have a Google Cloud Platform account. If you don't have one, you need to create one at https://cloud.google.com/ .
- Install Cloud SDK
- Create a Cloud SQL instance, configure the root user, and create a database. For this article, we use the "guestbook" database created by following the Cloud SQL Quickstart tutorial.

- Install MySQL ODBC connector
Connecting to a Cloud SQL instance
Method 1: Using IP Address
1. To connect to Cloud SQL, we need to authorize the client machine. Go to Google Cloud, SQL to open the Instances panel, and click the name of your instance


2. The administration panel will be opened. Click Access control option

3. Under Authorization, click Add network and enter the IP Address of the client machine. Next, click Done, and then Save


4. Go back to the Instances panel, and copy the IP address of your instance

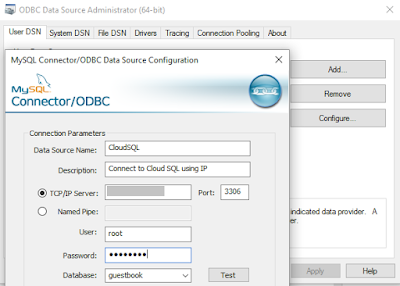
5. Now, configure the ODBC connector in the client machine

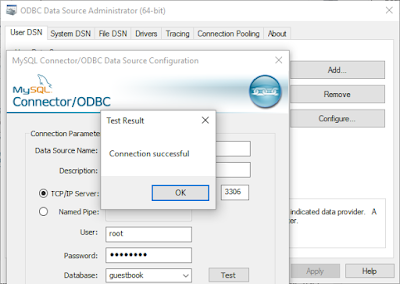
In the TCP/IP Server field, add the IP address that you get from the instances panel (step 4). The user and password are the same that you have configured in your instance. Next, Click the Test button
Save the changes and now, you're ready to connect to Cloud SQL from your client machine.


Method 2: Using Proxy
1. First, we need to create a service account. For this, I recommend following the instructions provided in the Cloud SQL Documentation - Create a service account
Once you have downloaded the private key file in your machine, you can place the in a different location and even it can be used in other client machines. I decided to keep this file in the same SDK location.


2. In the Cloud SQL administration panel, select your instance and go to overview. In the details section look for the instance connection name and copy that value.


3. Next, download and install the proxy, In this case, I have installed the proxy in a windows machine. Once the file has been downloaded, it must be renamed it to cloud_sql_proxy.exe.

I also placed this file in my SDK folder

4. Now, we're ready to start the proxy. According to the documentation we have to type the following command in the SDK window:
./cloud_sql_proxy -instances=<INSTANCE_CONNECTION_NAME>=tcp:3306 \ -credential_file=<PATH_TO_KEY_FILE> &

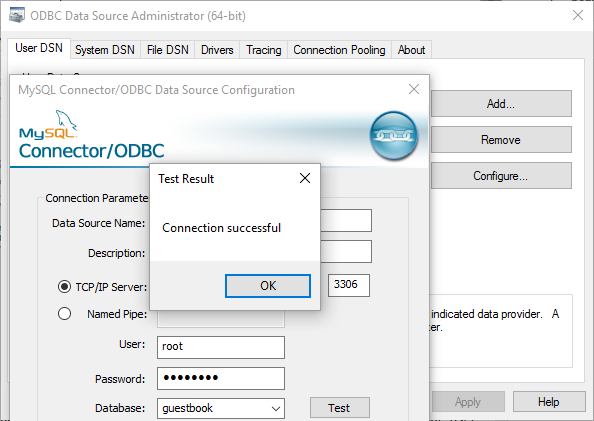
5. The proxy is ready, next we need to configure the ODBC. By default the proxy is accessed through 127.0.0.1, therefore this is the value that we have to input in the TCP/IP Server field. User credentials are the same that you have configured for your instance.


Save changes, and now you're ready to connect to Cloud SQL using Proxy.
Resources:
No comments:
Post a Comment